How to Fix Network Cable Unplugged Issues in Windows
Posted May 9, 2020, 8:14 a.m. by Emil S.In this digital age, there's nothing more exasperating than being unable to have access to the internet, especially when you have plenty of things to do. Whether for play or for work, not being able to join the network can certainly drive you nuts.
When this issue happens, an error notification that shows up as "A network cable is unplugged" registers on your screen. You could also see an "X" in red display on your Windows Explorer taskbar.
How often this error message appears depends on the extent of the issue. It can also happen when you're connected through Wi-Fi.
What Causes This Error?
This error might be the result of a lot of probable issues. Usually, the error message that you see on your computer screen is unsuccessfully trying to connect to a local system if you have an Ethernet network adapter set up.
Some reasons for this problem include device drivers that are misbehaving, inferior Ethernet cables, and faulty network adapters.
Many users who did an upgrade from the previous Windows versions to Windows 10 also experience this problem.
The solutions to network cable unplugged problems:
To troubleshoot and resolve these error notifications, follow the steps below. This will enable you to connect to your network once again.
Step 1: Restart Your Computer
To do this, turn off your computer for a couple of seconds. Next, turn it back on. In case you’re using a laptop, you can always remove the battery as an extra step. Leave your laptop off for ten minutes. Then, put the battery back, plug it, and restart Windows.
Step 2: Disable Your Ethernet Network Adapter
In case you’re not using your Ethernet network adapter, you can disable it. For instance, if you’re utilizing a Wi-Fi system on devices that have built-in Ethernet adapters, you only have to click the error window which says “A network cable is unplugged” twice and then click on Disable.
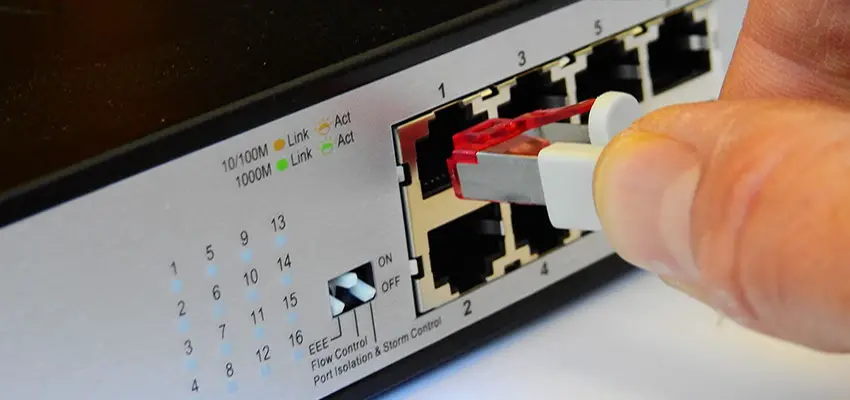
Step 3: Make Sure That Your Ethernet Cable Connection Is Secured
Check out both connections of your Ethernet cable and make sure that these cables are not connected loosely. You can find one end of this connection on your network device, such as a router. You should locate the other end of this connection on your computer.
If this still doesn’t work out, check for a bad cable. You can do this by trying to plug this cable onto another computer. You can also temporarily change your Ethernet cable to one that you’re sure is still good. Do these checks first instead of automatically purchasing a new Ethernet cable.
Step 4: Update the Driver Software of Your Network Adapter
If applicable, get the latest version of the software for your network adapter. If you’re already using the newest version, try to uninstall and reinstall the driver software. You can also try to revert it to the previous version.
Checking for network drivers that are out of date might seem like an impossible task when your drivers can’t connect to the internet in the first place. However, there are free tools for driver updates like the DriverIdentifier or Driver Talent for Network Card to help you with that.
Step 5: Change the Settings of Your Ethernet Adapter
To be able to modify the Duplex settings of your Ethernet adapter to utilize the Full Duplex or the Half Duplex option in place of the automatic selection, through the Control Panel, you can go to your Network and Sharing Center or Device Manager.
Changing this can hack on your adapter’s technical limitations and modify the timing and speed by which your adapter operates. Users report that they are more successful when using the option of Half Duplex. However, you also have to note that going this route reduces the peak of the data percentage that your device can sustain.
To apply this setting on the network adapter, you can check out the Properties of your device. Then, from the Advanced tab, you can locate the setting for Speed and Duplex.
Step 6: Verify the Ethernet Connection on Older Computers
If you’re using an older computer model, you’ll find your Ethernet adapter as a detachable PCI Ethernet card, PCMCIA, or a USB dongle. Take this off and then reattach your driver hardware to make sure that it is properly connected. If possible, you can try to change it to another adapter if this doesn’t work.
If you’ve gone through all the steps and none of it worked or fixed the error, it could be that the equipment connected to the Ethernet cable like your router is indeed the faulty one. Make sure to diagnose and repair this equipment as required.