How to Set Up Your Wireless Network at Home
Posted April 5, 2020, 7:31 a.m. by Emil S.Set Up Your Home Wireless Network
To be able to set up your home wireless network, you will be needing a wireless router, a modem, two Ethernet cables, and a laptop or PC. Once you have gone through this checklist and made sure that you have all the equipment you need, here are the steps for you to follow:
1. Look For The Best Spot For Your Router.
People take this decision for granted but the spot where your wireless router is located affects the signal you get. People think the best location is beside a window, which is not the case. The best place to set up your wireless router is at the center of your home, somewhere that is free from obstructions or walls. Do not set up your wireless router close to the microwave and other appliances that emit heat.
2. Turn Off The Modem.
Before you start connecting your equipment, make sure that the DSL or cable modem given by your Internet service provider is turned off.
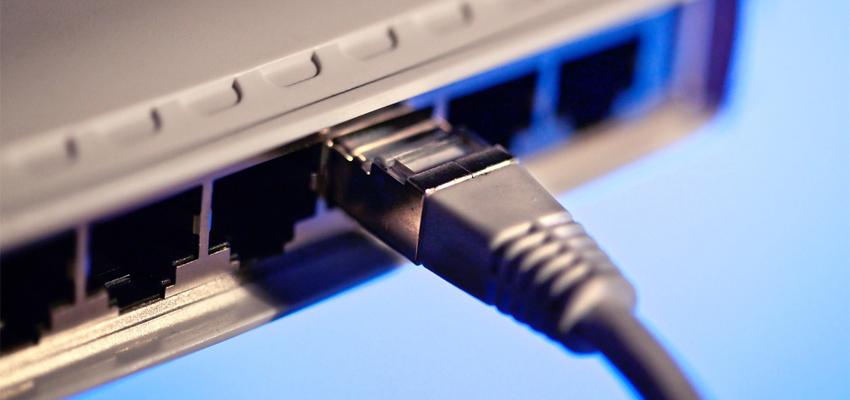
3. Connect The Modem And Router.
You have to plug an Ethernet cable (usually given with the router) in the router WAN port. To connect the router to the modem, use the other end of the Ethernet cable and connect it to the modem.
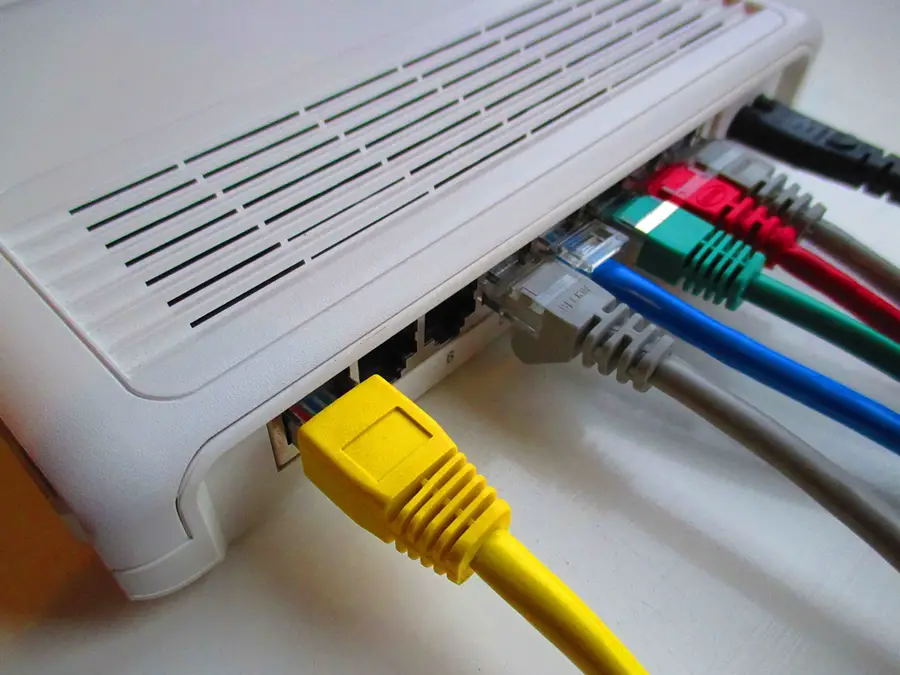
4. Connect Your Laptop Or PC To The Router.
With the other Ethernet cable, plug one end to the LAN port of the router and the other end to the Ethernet port of your laptop or PC. I know it is supposed to be wireless but do not worry, this is just a temporary thing for the setup. Once the setup is complete, you do not have to use the Ethernet cable anymore.
5. Turn On Everything.
Before you get excited, there is a proper editor when it comes to powering up your devices. First, turn on the modem and wait for all the lights to be on. Once this happens, turn on the router. Once the router is on, you can turn on your PC or laptop.
6. Access The Router's management Page.
Open your browser and then enter the IP address of your router's management page. You can find this information in your documents (look for a bunch of numbers like 192.189.3.1). The documents should also have your login details.
7. Change The Default Password And Username.
The first thing you should do is change the administrator password and username to make it more personal. Default passwords are usually difficult to remember so changing it to something you made up will be easier to your memory. Make sure you use a strong password.
8. Check Your WPA2 Security
This is one of the most important steps during the setup. WPA2 is more secure than WEP. Look for the WPA2 setting in the wireless security section of the router's management page. You get to choose what type of encryption you would like to use and you have to enter am 8-character passphrase. Make sure to choose a strong passphrase.
9. Update Your Wireless Network Name.
To make your wireless home network easy to identify, you should change the Service Set Identifier (SSID) or the wireless network name. You can usually do this in the wireless network information tab or section of the router management page.
10. Change Your Wireless Channel.
This step is optional but it is very useful if you live in an area where there are other wireless networks around. Changing your wireless channel to one that is not being used by the other wireless networks can lessen interference. A good trick for this is to use your smartphone, install a Wi-Fi analyzer app, and find the least crowded channel. Another trick is to try channels 1, 6, and 11 since these channels do not overlap.
11. Setting Up Your Wireless Adapter On Your PC Or Laptop.
Once you are done tinkering with the passwords and configuration settings, it is time to unplug the Ethernet cable that connects your PC or laptop to the router. If your PC or laptop does not have a built-in wireless adapter, plug in a PC card wireless adapter or USB into your laptop. It can either install automatically or you may have to go through a setup process.
12. Connecting to your wireless network at home
With everything set up. Look for your home network and connect to it. You can do the same for other wireless devices. It only takes about 20 minutes or less for you to go through the whole process. With this guide, you will be enjoying your Wi-Fi at work with no problem at all!