Performing an IP Address Release/Renew In Microsoft Windows
Posted May 7, 2020, 7:41 a.m. by Emil S.Once in a while, you may encounter serious Internet connection issues that you just can’t ignore. Often, simply rebooting the router is enough to resolve the problem. On some occasions where you’re having trouble getting your connection back, you may have to resort to other means short of contacting your internet service provider’s customer service.
Performing a simple IP address release/restart might do the trick. It will, in effect, refresh your IP address so that the connection can start anew.
Reasons for Releasing and Renewing an IP Address
With everything running smoothly, a device will stay online indefinitely using the original IP address the network assigned to it when it first joined. However, there are times when IP conflicts between the network and DHCP occur that cause the connection to slow down and even freeze. Knowing how to release/renew an IP address can be to your benefit.
It can also come in handy when you’re moving your computer to a new home or office and switching to a new network or hotspot. It also helps when connecting your computer to a modem directly.
Using the Command Prompt to Release/Renew IP Addresses
The steps involved in Windows are pretty simple and straightforward.
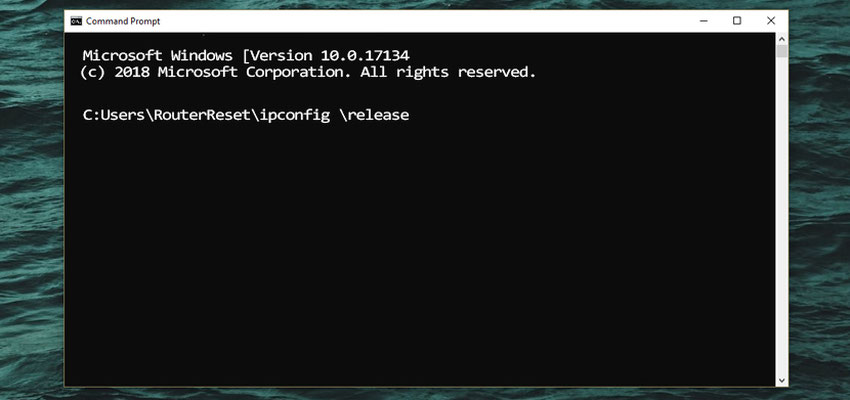
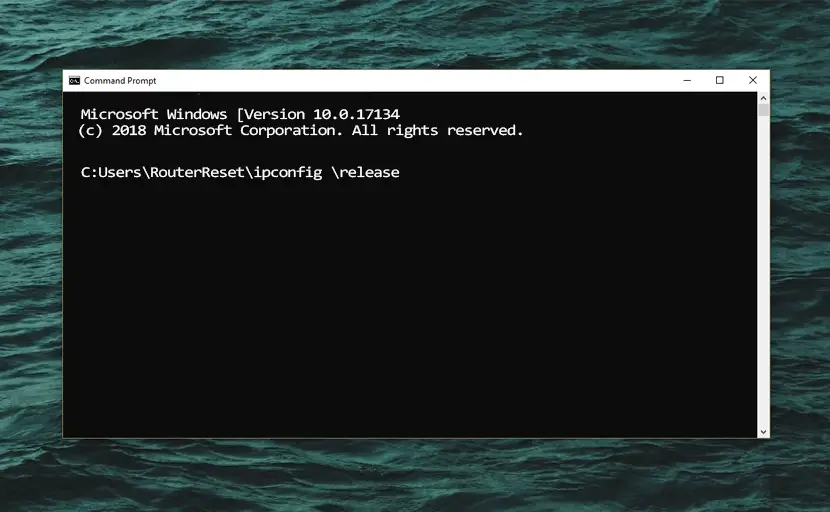
- Enter cmd on the start button search bar, and this will open the Command Prompt window.
- At the prompt, type in
ipconfig/releasethen Enter. - You’ll notice that your computer’s IP address is now
0.0.0.0on the results, which means it currently no longer has an IP address meaning it can’t have Internet access. That essentially released the previous IP Address so that other devices can use it. - Type in
ipconfig/renewthen Enter, to receive an IP address. You’ll see it on the following results, but don’t be surprised if it’s the same as the original one.
More About Releasing/Renewing IP Addresses
As you can see, your computer may be assigned the same address it had before. It doesn’t matter, because you will still achieve the desired outcome of refreshing the connection. It’s the renewal process that you’re after, and assigning IP addresses is done automatically for you by the DHCP server.
Multiple attempts may fail and return an error message. If it’s due to a malfunction on the DHCP router, computer, or device, your best bet will be to reboot all of them before proceeding with the release and renew procedures.
Allow Windows to Diagnose and Attempt to Fix the Problem
You can also allow Windows to troubleshoot the problem by right-clicking on the network connection icon on the taskbar and selecting Troubleshoot problems.
It will launch the Windows Network Diagnostics that will scan for connectivity issues and attempt to fix them. It will perform the same IP address release/renew fix if the problem calls for it.
You can also run the diagnostics from the Network and Sharing Center by left-clicking on the name of the troubled connection. A Network Connection Status dialogue box will appear with a Diagnose button.